
… hard to photograph.
So I followed these instructions to make a light box.
Of course there are many permutations of the same thing – using a styrofoam box, plastic storage boxes, DIY wooden crates, recycling a cardboard crate and cutting out windows and replacing those windows with tracing paper – but I settled on this particular method by Bill Huber because it was lightweight and can be easily disassembled, if you don’t glue the parts together and stored away.
Anything that is a box takes up the space of a box. This PVC pipe collapsible method is perfect because I don’t photograph products all that much and I only have to set it up when I need it. But setting up can be hard if you’re disorganised and don’t have all the parts together.
The cost was also low.
- 15mm PVC pipe
- 4 elbows
- 4 end caps
- 4 t-joints
Total cost S$5.80.
The PVC pipe, elbows and end caps were S$4.70. I got the t-joints from another shop because they were shorter and neater looking for S$1.10.
The lights were not cheap.
I bought four simple clamps with light sockets for S$4 each. They’re made in Thailand. I’m sure they’d be much cheaper there.

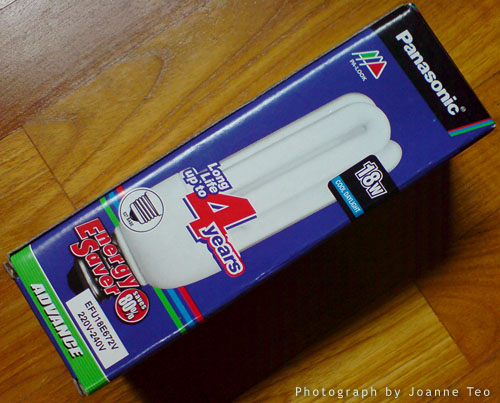
4 x 18 watt daylight (with an output of 100watts) bulbs S$6.50 each.
Final cost S$47.80.
I haven’t got a big bedsheet or white cloth. I made do with leftover mahjong paper and plastic boards that I already had.
I find paper clumsy and hard to keep neat. I have to find a better solution.
The results were not bad, but not great.
I think I’m still having problems lighting jewellery, and diamonds are very hard to focus on.